Team members
Invite members, use an invite link, follow pending invitations and see how many seats each plan includes.
The Team page shows who can open a project and lets you invite more people. Open it from Workspace › Team in the sidebar. The page title reads "Manage who has access to" followed by the project: each project has its own team.
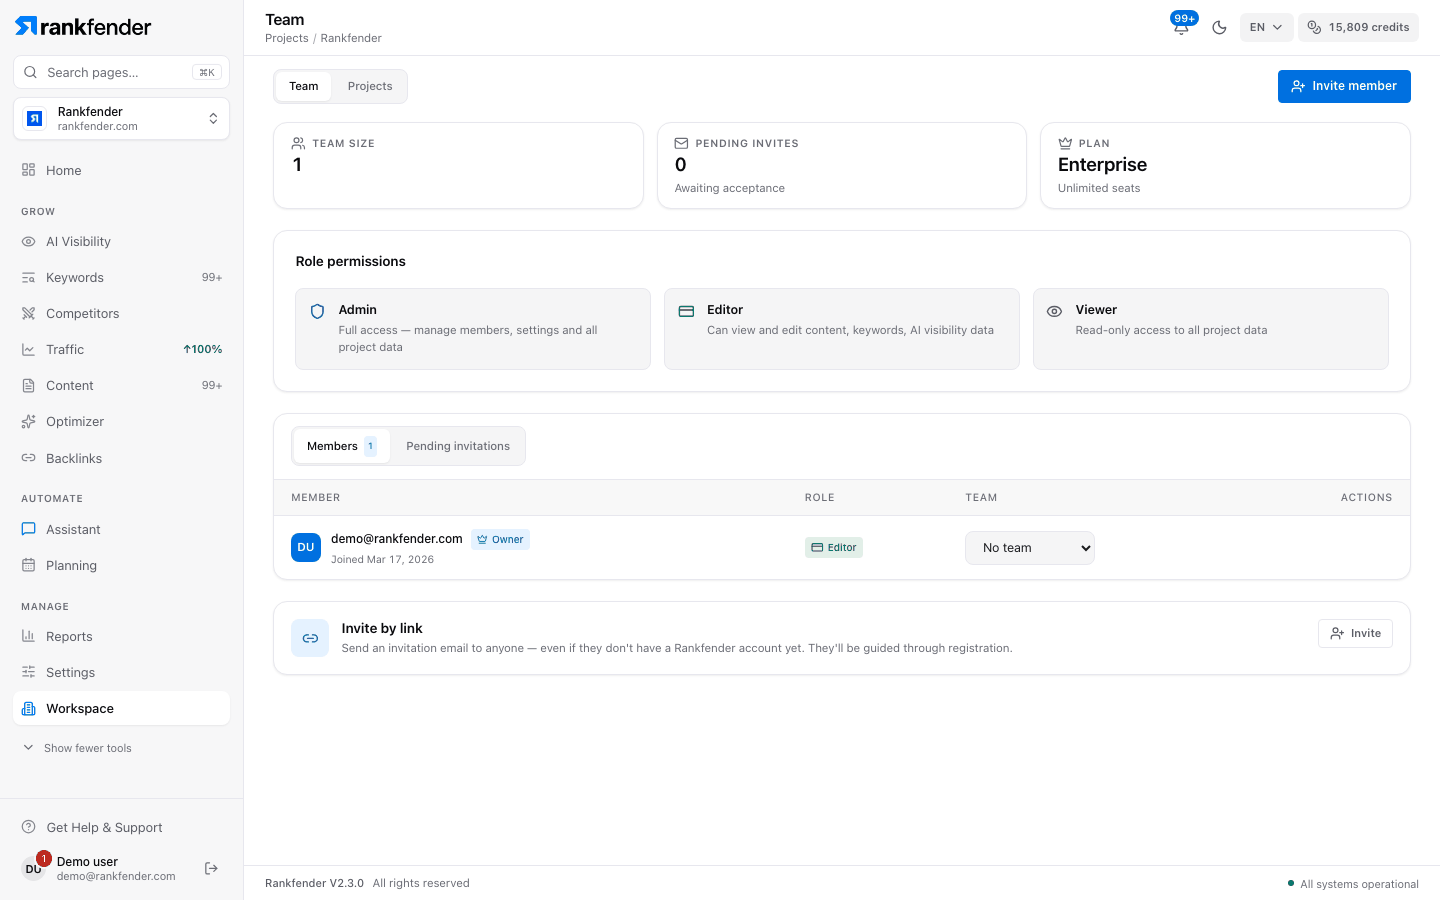
At the top
- "Team size": members on this project out of your seats, with "N seats remaining".
- "Pending invites": invitations "Awaiting acceptance".
- "Plan": your plan, with "Up to N seats" or "Unlimited seats".
- "Role permissions": one line each for Admin, Editor and Viewer. Details in Roles and permissions.
Seats per plan
| Essential | Professional | Business | Agencies |
|---|---|---|---|
| 1 seat | 1 seat | 5 seats | Unlimited |
- A seat is one person you invite. You, the owner, don't use one.
- Seats count across all your projects: one person on two projects uses two seats.
- When the seats are used, the invite window says "You've reached your seat limit" and "Send invitation" is greyed out.
- For outside help that needs no seat, give a task by email instead: Assigning tasks and guests.
Invite someone
Click "Invite member"
The "Invite a team member" window opens: "They'll receive an email with a secure link".
Enter the "Email address" and pick a "Role"
Admin, Editor or Viewer. Editor is selected by default.
Optionally pick a "Team"
Marketing, Content or Technical. "We suggest them for tasks of their team." when you assign tasks.
Click "Send invitation"
The email goes out in your language and the invitation expires after 7 days. People without an account are guided through sign-up; after signing in they see "You're in!".
Pending invitations
Each invitation shows "Invited …" and "Expires …", with "Copy link" (send the invitation link yourself, for example in a chat) and "Revoke". The "Invite by link" card at the bottom opens the same invite window; once sent, copy the link here.
Members
The "Members" tab lists each person with their role and team. In "Actions", "Change role" offers "Make …" for the other roles, and "Remove member" takes them off the project. Members can use "Leave" to quit a project. The owner carries the "Owner" badge.
Note
The owner and Admins manage the team. An Admin who has no project of their own uses a seat on your plan and can't send invitations: the owner does it.